Requirements
- Content Blocks pod is required and the Pods – Custom Content Types and Fields plugin will need to be activated; if you would like to use this Content Blocks for your website, please submit a ticket in the UBC Self Service Portal.
Recommended Usage
The content blocks are designed to enhance flexibility and empower the site Administrators in populating and managing content.
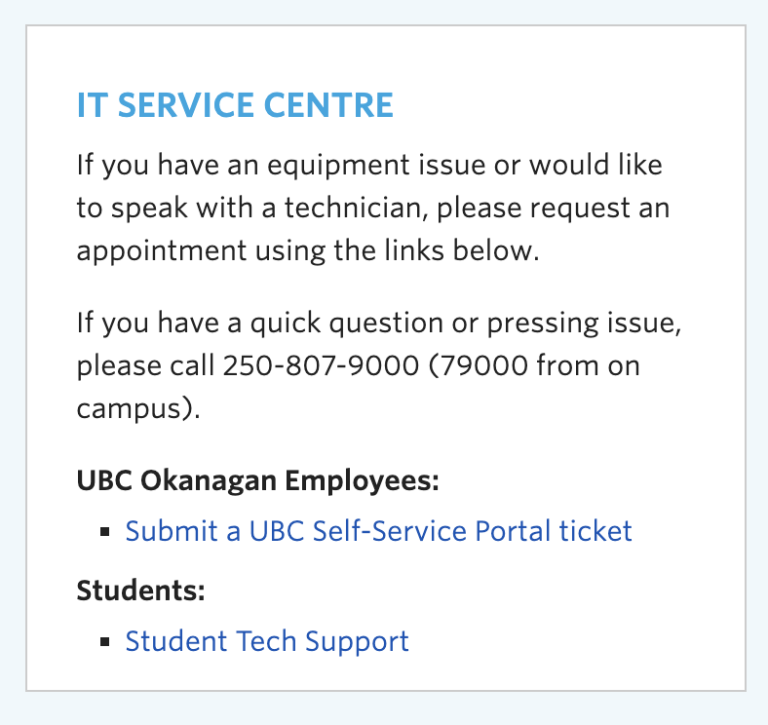
Example Content Blocks – View live example on our Demo Site
How to add a Content Block?
- Access your website’s dashboard using your CWL credentials.
- Locate and click on the Content Blocks option in the left-hand menu.
- Add New Content Block initiates the process of creating a new content block.

A Content Block has the following fields:
– Title
– Visual Editor: Texts, Images, Tables, etc..
– Code Editor: HTML, CSS, JavaScript, etc..
Please note: The Code Editor is only available to users with Administrator role. If you are the site administrator and cannot see the Code Editor, please follow these instructions:
– Click Screen Options in the top right corner of the page.
– Check the box next to “Code Editor”.
- If you add content in the ‘Code Editor’ section, please also insert corresponding code into the ‘Visual Editor’ above.
– Click Pods Shortcode.

– Fill out questions.

- What would you like to do? Display a field from a single Pod item
- Choose a Pod > content_block (content_block)
- Field > code_block
- ID or Slug > any number
- Insert codes.
- Update the Slug to the correct number.
Please note: To find the content block Slug ID, please follow instructions below.

- Preview or View Content Block and make any necessary revisions before finalizing.


How to Update a Content Block?
- Access your website’s dashboard using your CWL credentials.
- Locate and click on the Content Blocks option in the left-hand menu.
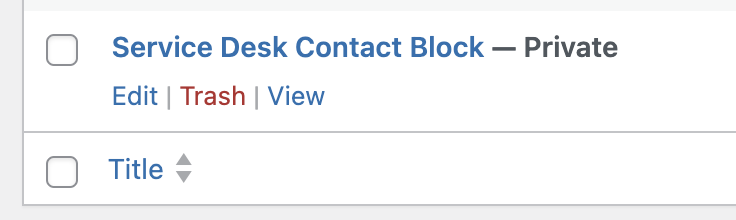
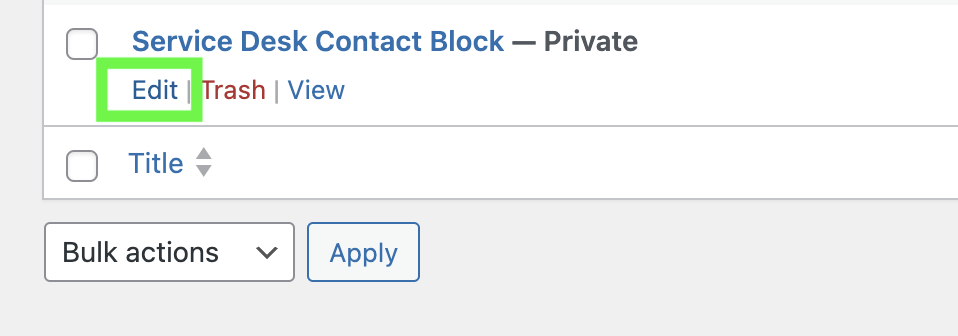
- Edit your target content block.
Please note: Before updating any content, ensure to make copies of the original codes and store them in other locations to prevent potential loss in case of mistakes.
- If you add content in the ‘Code Editor’ section, please also insert corresponding code into the ‘Visual Editor’ above. Please refer to step 4 above.
- Preview the content block and make any necessary revisions before finalizing.
- Update.
How to Delete a Content Block?
- Access your website’s dashboard using your CWL credentials.
- Locate and click on the Content Blocks option in the left-hand menu.
- Trash your target content block.
Please note: Do NOT delete it until you ensure it is not needed.