Here are the steps to adding images and media to your WordPress pages and posts:
- From the Dashboard, click Pages/Posts on the left-hand menu bar.
- Select one of the pages or posts to edit. (Or, view any page/post and click Edit in the admin menu bar.)
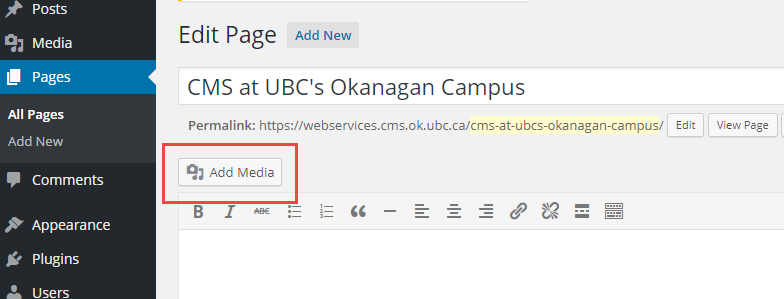
- Below the page/post title, click on the Add Media button (Figure 1).
- Insert Media window appears.
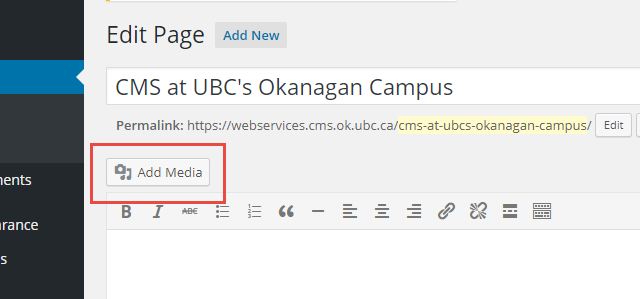
Figure 1: Add Media Button
- Insert Media window appears.
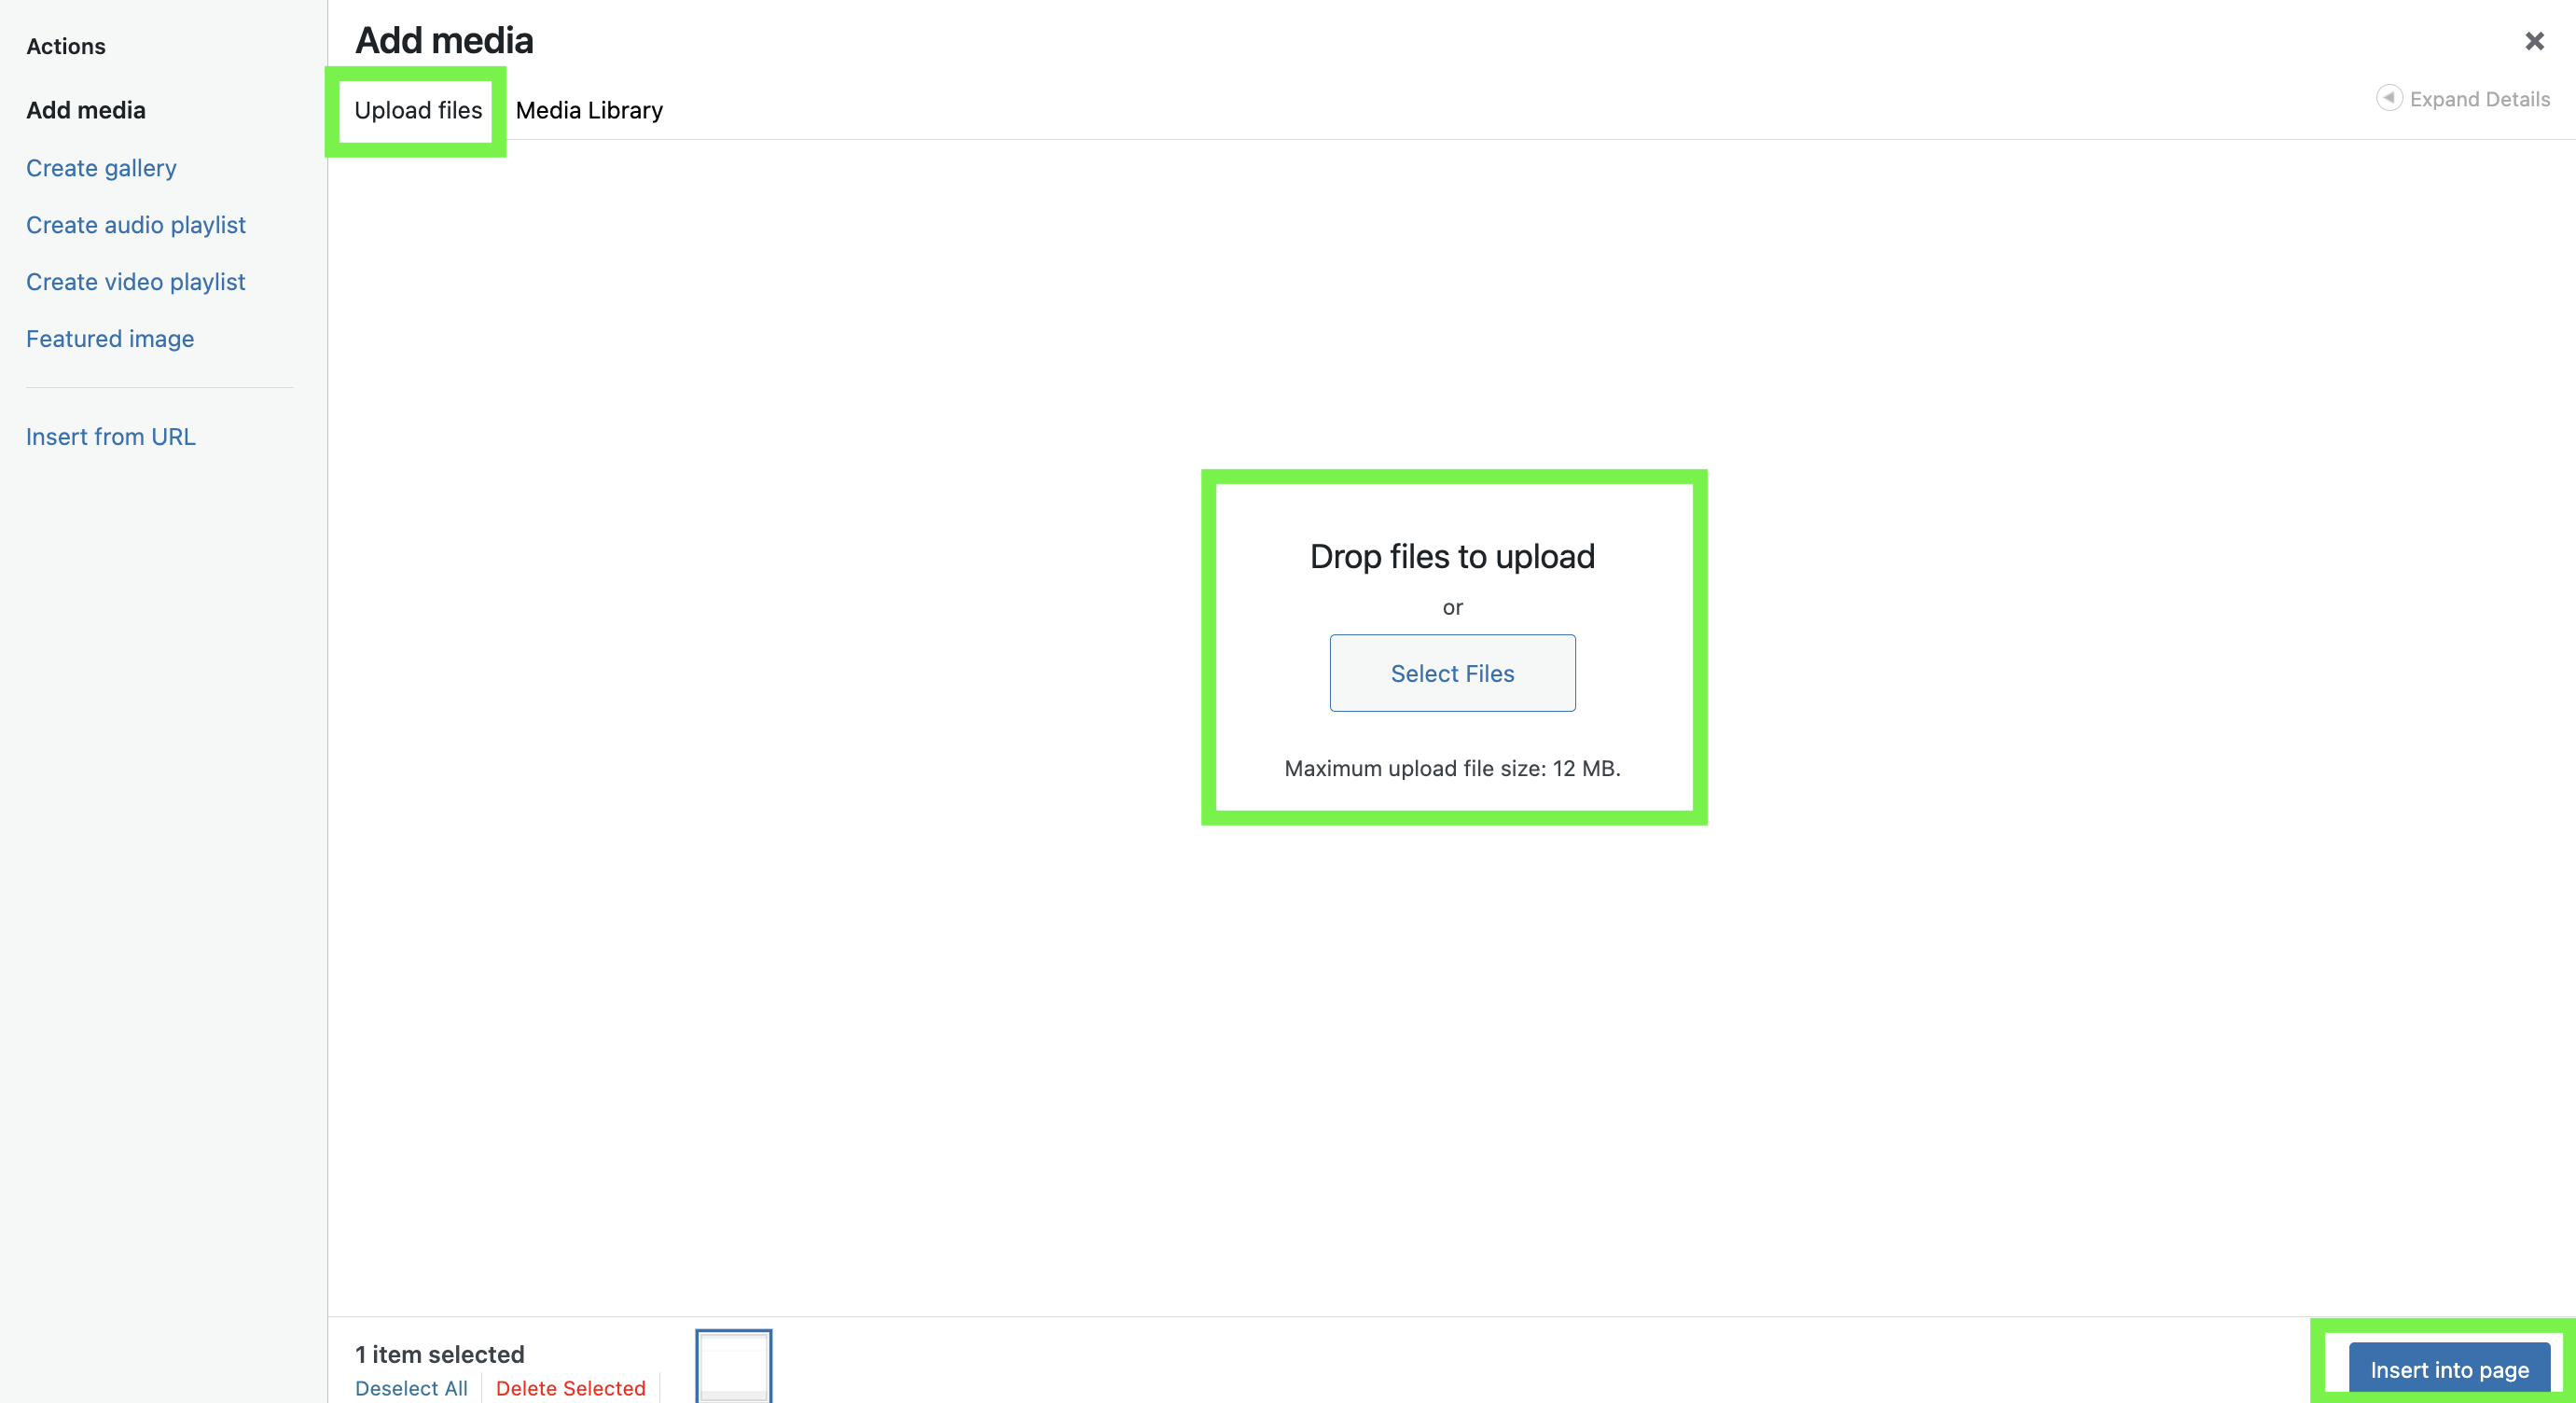
- Choose Upload Files if the image is not on your site yet, otherwise, find the desired image in the window and skip to step 6.
- Click the Select Files button. From your computer, select an image and click Select (OK on a PC). Or, you can drag and drop files into the upload area (Figure 2).
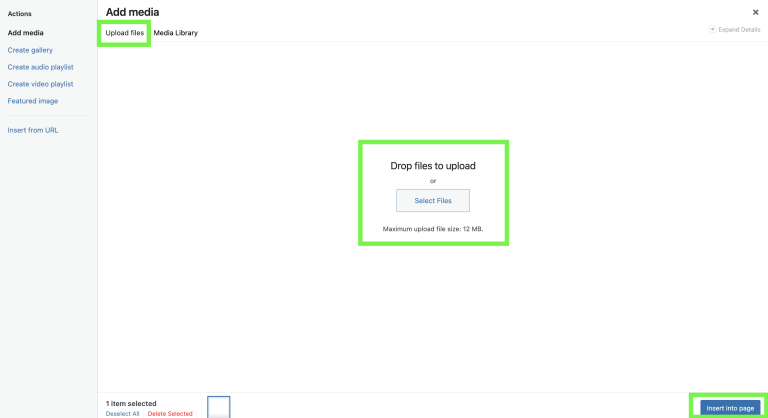
Figure 2: upload files
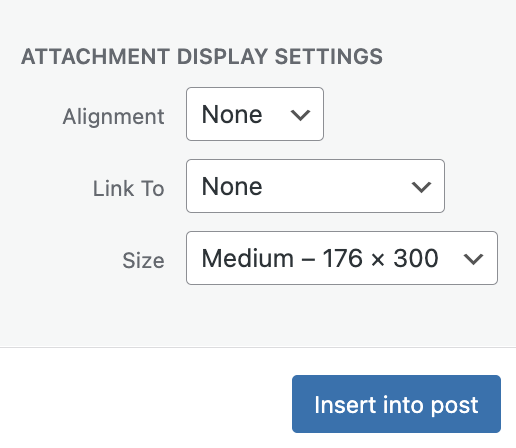
- Enter a title, caption, a description of the image, and select an image size to be displayed on your page. Click Insert into Page/Post (Figure 3).
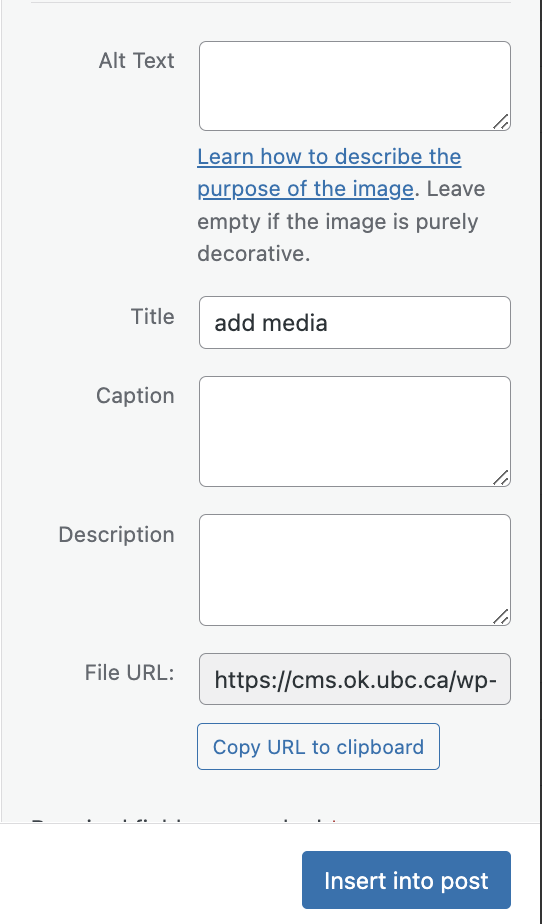
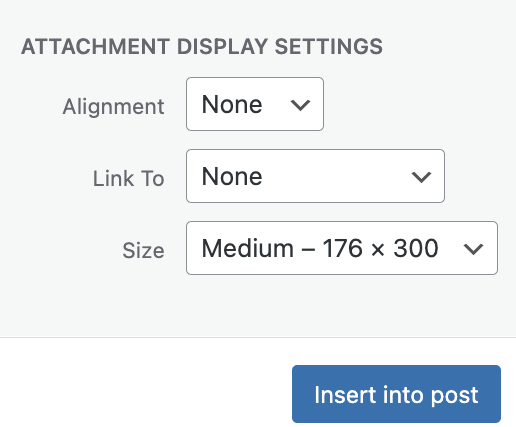
Figure 3: caption of an image
- When you have finished formatting your page or post, click Update on the far right-hand side and visit your site (Figure 4).
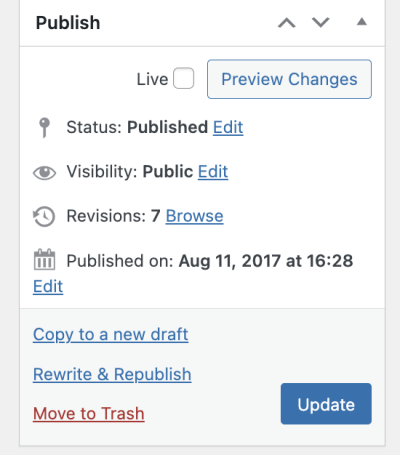
Figure 4: Update