WordPress allows you to group pages of your site as well as any links to any external sites into Menus. You can do this by going to Appearance > Menus in the WordPress Dashboard.
Creating a Navigation
Note: Before creating the menu(Figure 1 & 2) you have to make sure that the navigation display is enabled. You can do this by going to Appearance > Theme Options > Navigation and check the ‘Display the Navigation’ and click Save Changes (Figure 1).
- Go to Dashboard > Appearance > Menus
- Click on the ‘Create a new menu’ link.
- Enter a name for the menu.
- Click “Create Menu” button.
- Then choose items like pages, categories or custom links from the left column to add to this menu.
- After you have added your items, drag and drop to put them in the order you want. You can also click each item to reveal additional configuration options.
- Now let’s assign this menu to the Primary menu area in the theme by selecting the Primary check box right next to the label Theme Locations under Menu Settings.
- When you have finished building your menu, make sure you click the Save Menu button.
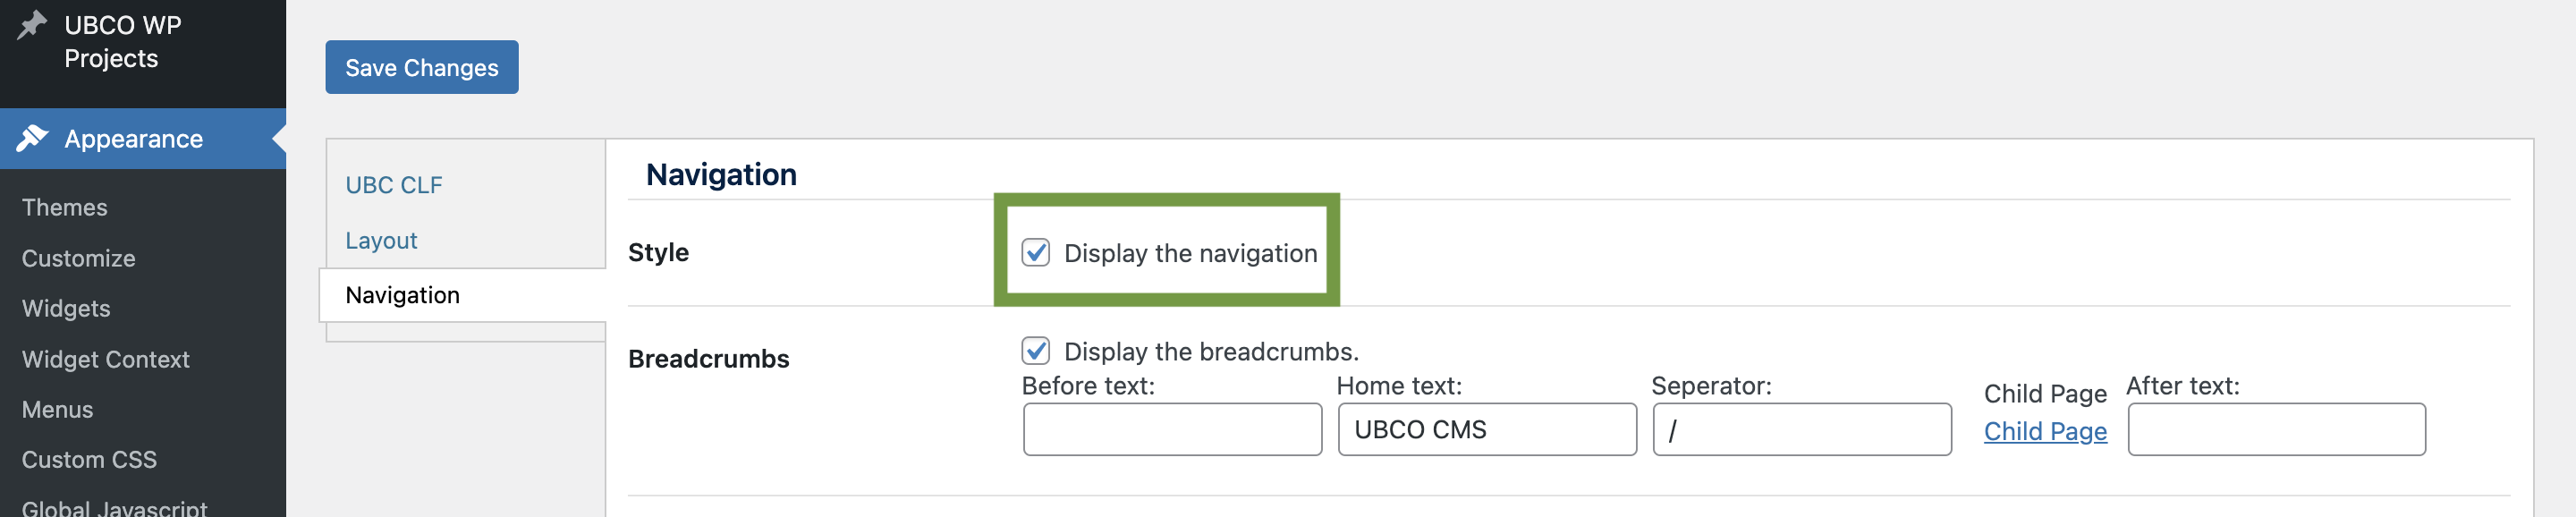
Figure 1: Display Navigations
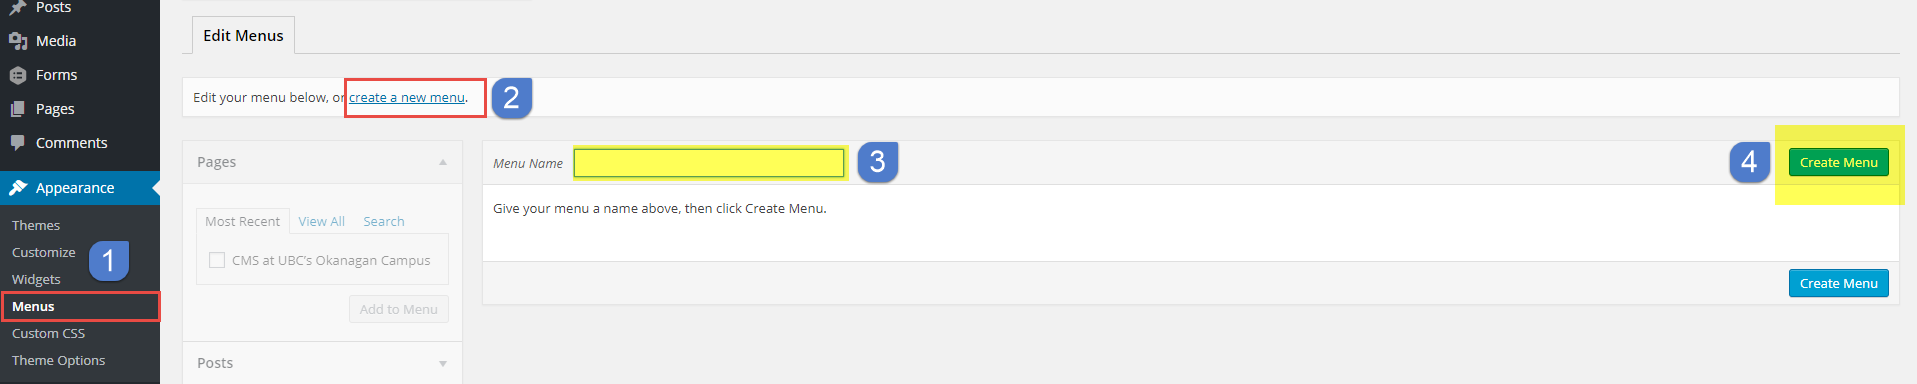
Figure 2: Creating the primary navigation, Part 1
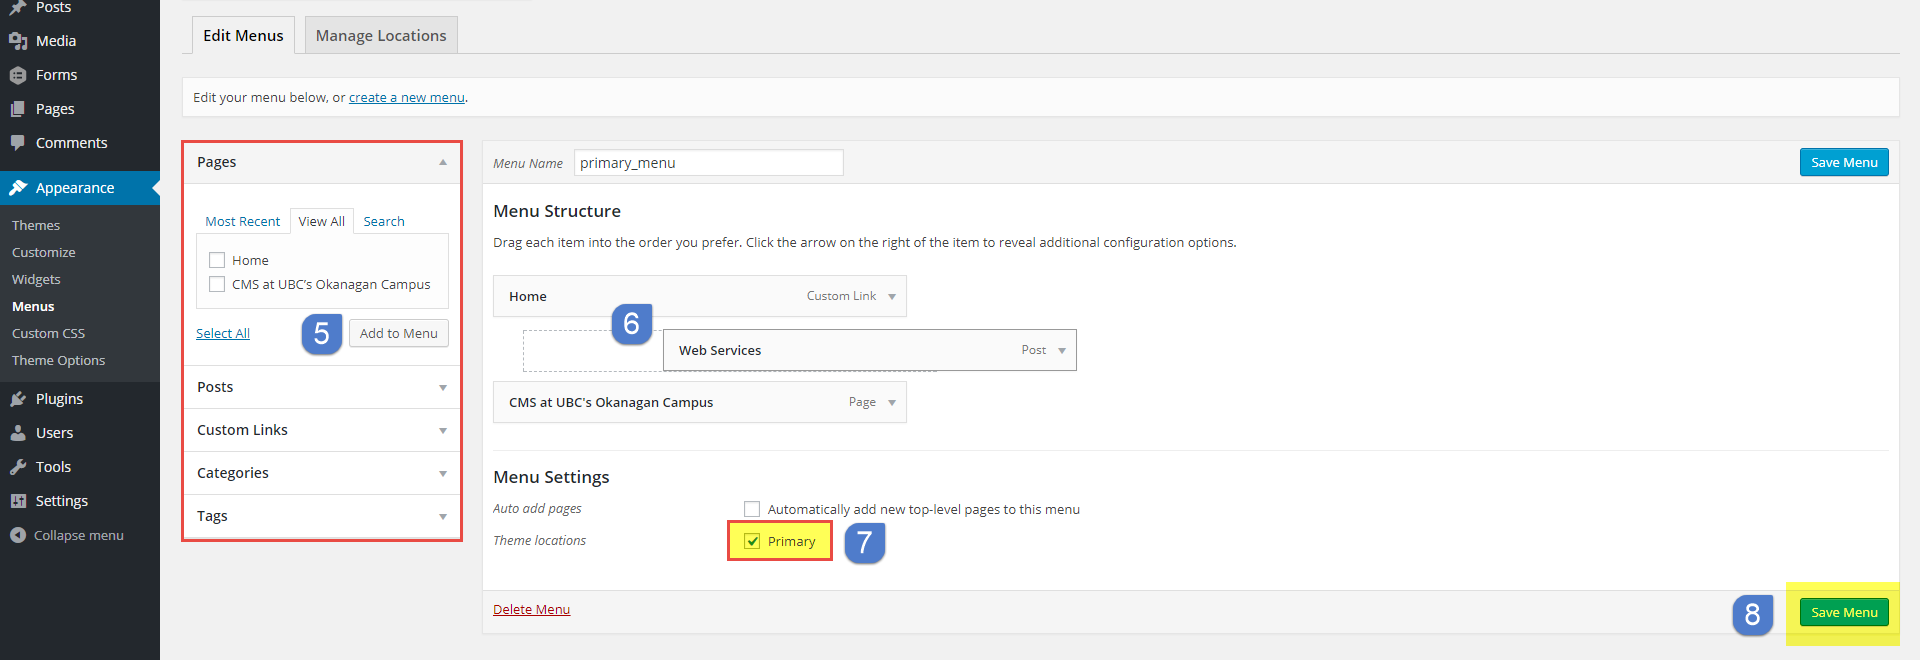
Figure 3: Creating the primary navigation, Part 2
Add or Remove Menu Items
- To add additional menu items, you can follow the same step as you did before, choose items from the left column. It could be pages, posts, categories, tags, and custom links.
- To remove an item, expand the item by clicking on the small arrow on the right side of the item, and click Remove(Figure3).
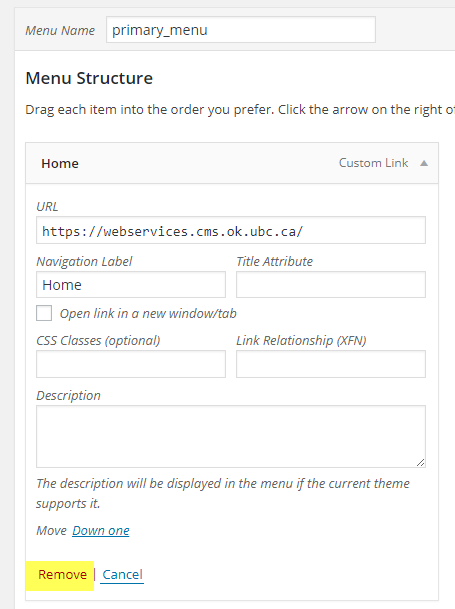
Figure 3: Removing Menu Item